Bitmap
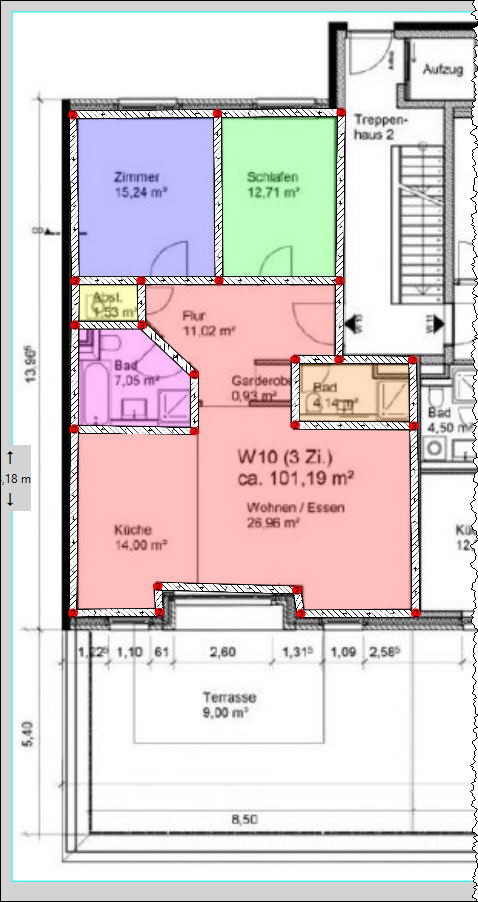
Structural drawings (e.g. floor plans) can be stored as bitmaps in the 2D view, so that the wall geometries can be entered using the mouse on each floor.
After clicking the “Calibrate bitmap” button, the respective dialog opens.
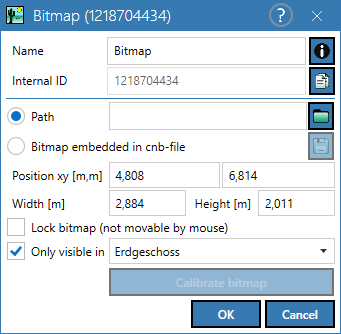
Dialog options
- Name, Memo-field
 , Internal ID: see Common Input Data
 - Path or Bitmap embedded in cnb-file: With this option activated, the bitmap file is saved in the CNB file. When using the "Path" option only a reference is saved in the CNB file. In the latter case - in order to pass on a project including a bitmap - this bitmap file must be passed on alongside the actual CNB file.
- Position/width/height: The coordinates of the lower left corner and the width/height (m) are displayed.
- Lock bitmap: When option activated, the bitmap can no longer be moved in the 2D view (checked on by default after calibration).
- Only visible in: This enables to select a distinct storey at which the bitmap shall be displayed.
Calibrate Bitmap
This position and dimensions of the imported bitmap may not correspond to the real dimensions, so a calibration of the bitmap is required. After clicking on the button, the following dialog opens:
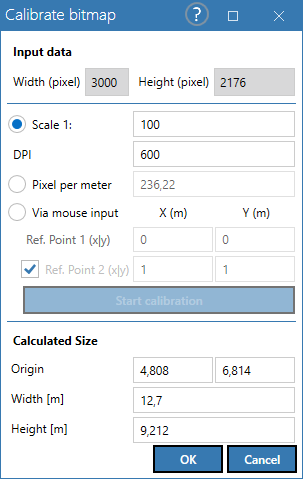
Dialog options
Input data
current width/height (in pixels)
Size and location
The following three options are available:
- Scale 1:/DPI: If known, enter the scale and resolution of the bitmap (in dots per inch).
- Pixels per meter: Enter the number of pixels that correspond to one meter in reality. Possibly, this input data must be determined using an external software (e.g. Microsoft Paint).
- Via mouse input: Here the coordinates of two reference points can be entered, which are then approached and selected using the mouse.
- If the latter option was selected, click on the “Start Calibration“ button.
The dialog opens to the right and shows the imported bitmap.
Start calibration
- Go to points 1 and 2 in the bitmap one after the other and click there with the mouse button in order to adopt that coordinate for the respective point.
- Then click OK twice to close the Calibrate Bitmap and Bitmap dialogs.
Subsequently, walls can be entered to create rooms.