Calculating Room-to-Room Transmission
Beispiel
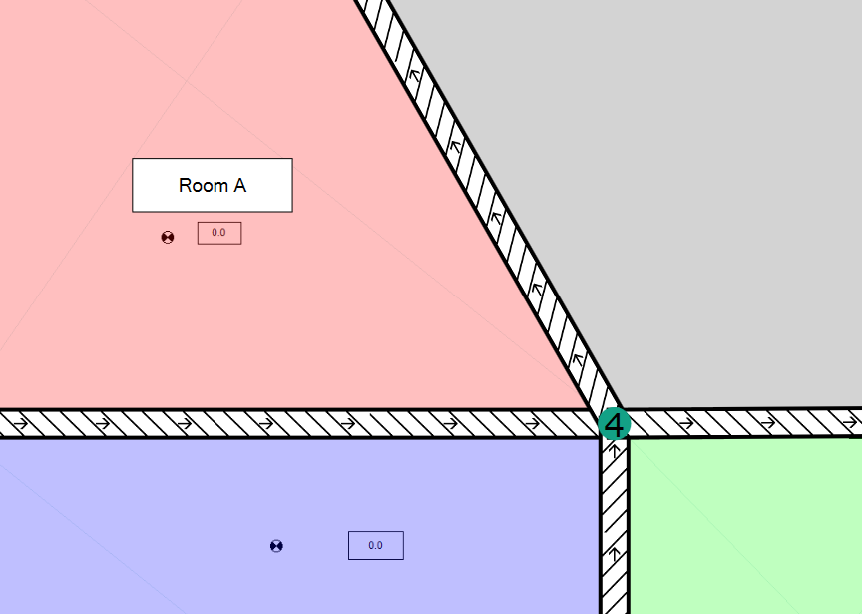
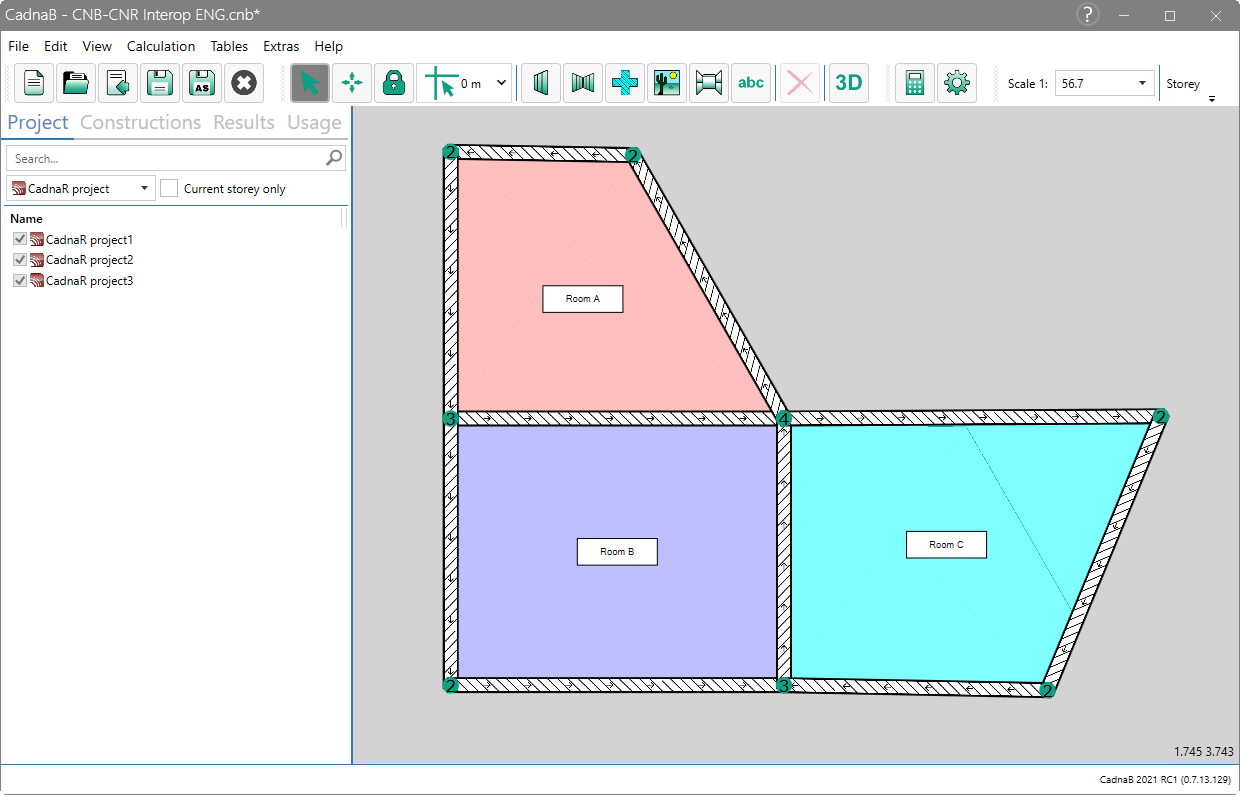
In this example, there are three neighboring rooms (i.e three "CadnaR project" objects respectively), where each room may represent both, a sending room and a receiving room.
Use the mouse to select at least one sending (SR) and one receiving room (RR) in the Remote job dispatcher dialog.
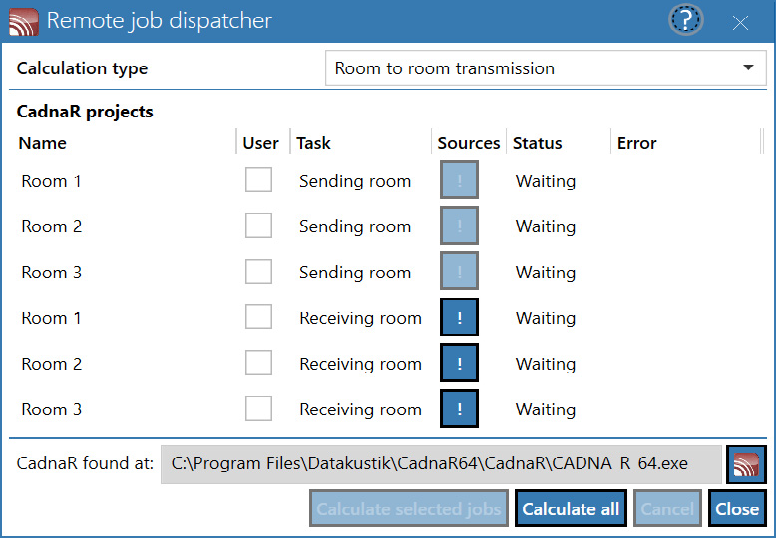
The rooms must be adjacent and have a common separating area. Selected room pairs SR/RR without a common separating area are ignored in the calculation. As usual, the SHIFT and CTRL keys can be used for multiple selections.
In this example, the transmissions from "Room B" (sending room, bottom left) to rooms "Room A" and "Room C" (receiving rooms, located above and to the right of the sending room in the 2D representation) are to be calculated.
In order to carry out these calculations, at least one source must be placed in the sending room and at least one receiver in each receiving room.
Editing the sending room (Room B)
Proceed as follows:
- To do this, close the Remote job dispatcher dialog.
- Open the CadnaR project dialog, initially for the sending room.
- If necessary, edit the absorption properties of the room surfaces first.
- Click on the button "Save file and edit project in CadnaR".
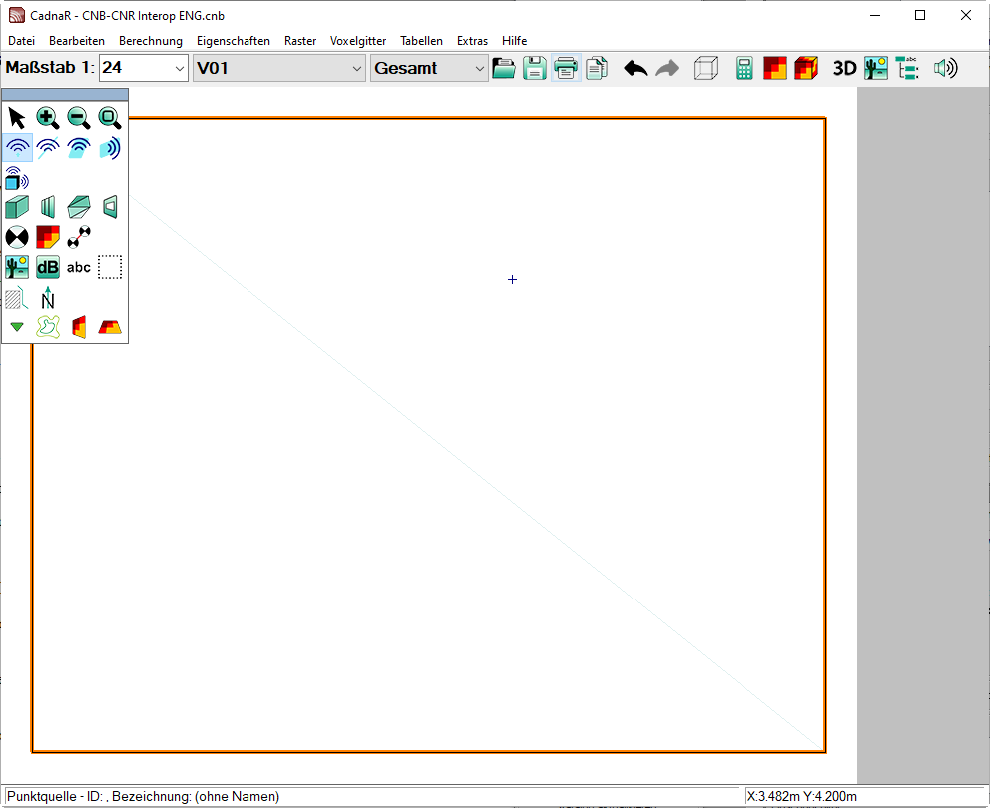
The CadnaR project “Room B” is then opened and displayed in CadnaR.
- Insert a point source within the room‘s floor area which is delimited by an orange line.
- Open the edit dialog of the point source and enter a suitable sound power and close the dialog.
So, the preparation of the room object “Room B” serving as the sending room is finalized.
Note
In principle, any complex source and obstacle scenarios may be modeled inside the sending room. This also includes complex scenarios such as - for example - a multi-person office with a multiple sources and screening or sound-absorbing objects inside the room. All sources and obstacles and their properties are taken into account in the following calculation in CadnaR.
- Save the project and exit CadnaR.
Editing the Receiving room (Room A)
In the following, the two receiving rooms are edited in CadnaR, at first receiving room "Room A":
- Open the CadnaR project dialog, first for the receiving room "Room A".
- If necessary, edit the absorption properties of the room surfaces.
- Click on the button "Save file and edit project in CadnaR".
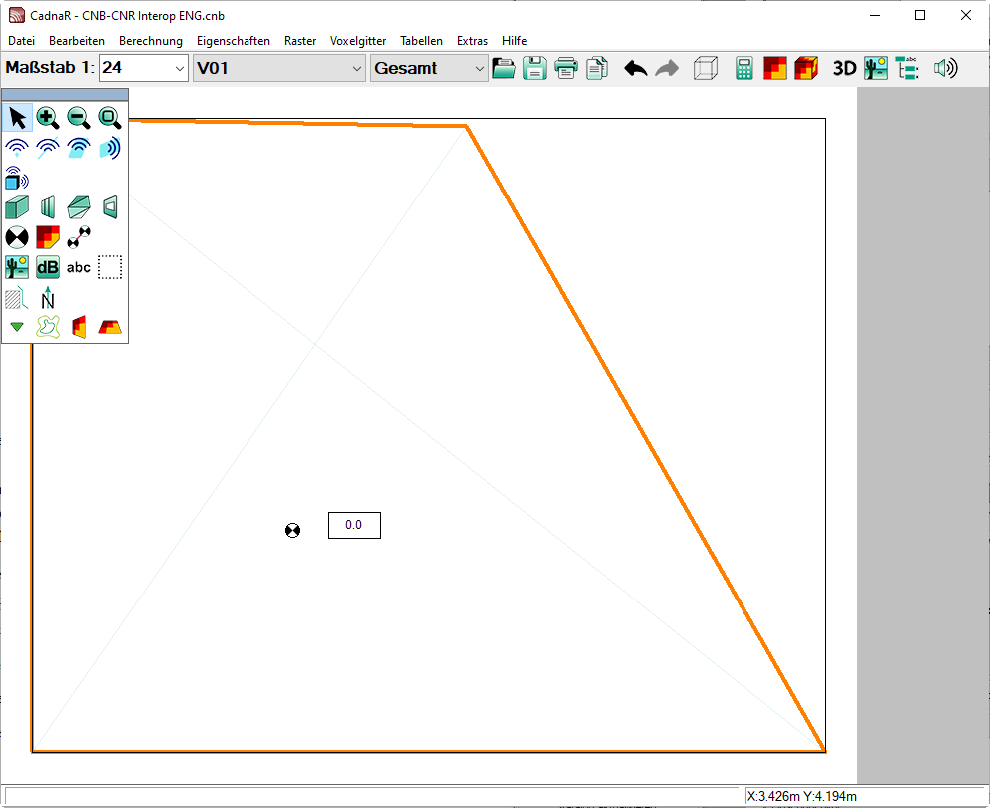
The CadnaR project "Room A" will then be opened and displayed in CadnaR.
- Insert a receiver within the room‘s floor area which is delimited by an orange line.
- If necessary, create a label to display the A-weighted sound level (object attribute Lp).
This completes the preparation of the object serving as receiving room “Room A”.
Note
Again, the note applies that obstacle scenarios of any complexity can be modeled within the receiving room.
Save the project and exit CadnaR.
Editing the receiving room (Room C)
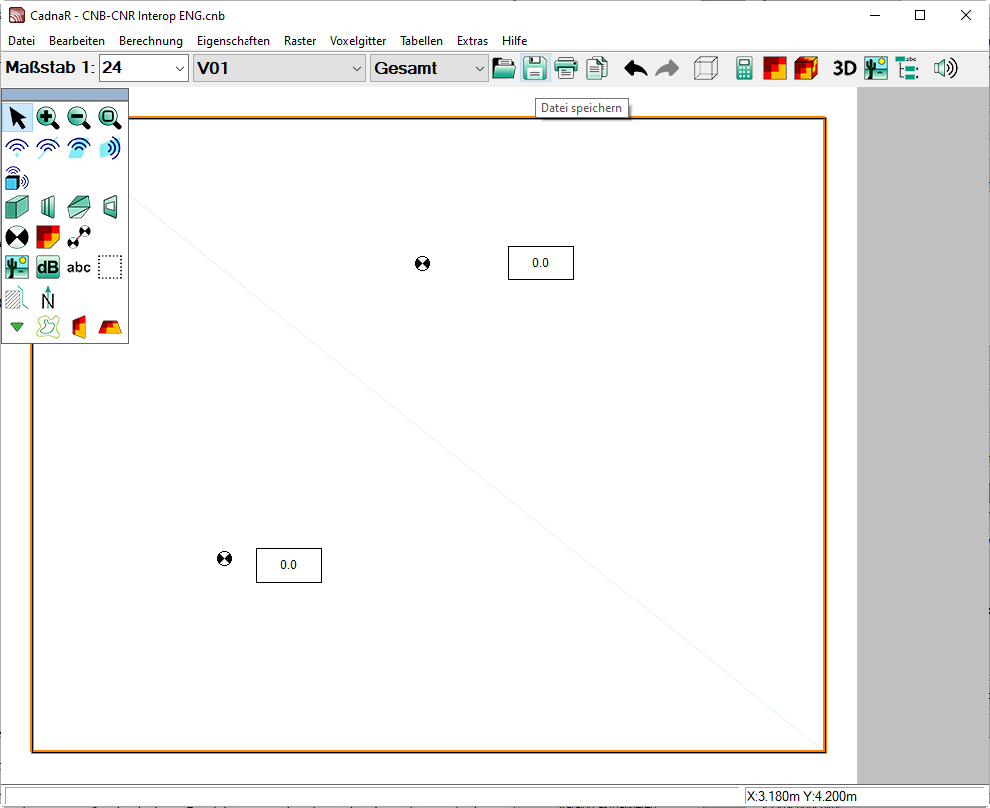
Proceed in the same way as for "Room A" to edit the receiving room "Room C" in CadnaR.
- Also insert there - for example - two receivers within the room‘s floor area which is delimited by an orange line and generate a label for each to display the A-weighted sound pressure level.
- Save the project and exit CadnaR.
Launching the calculation in CadnaB
Open the Remote job dispatcher dialog (command Start CadnaR calculation on the Calculation menu). Select the “Room-to-Room transmission” option as the type of calculation. In this example, the selection shown below means that - as intended - the transmission from "Room 1" (sending room) to rooms "Room 2" and "Room 3" (receiving rooms) is calculated.
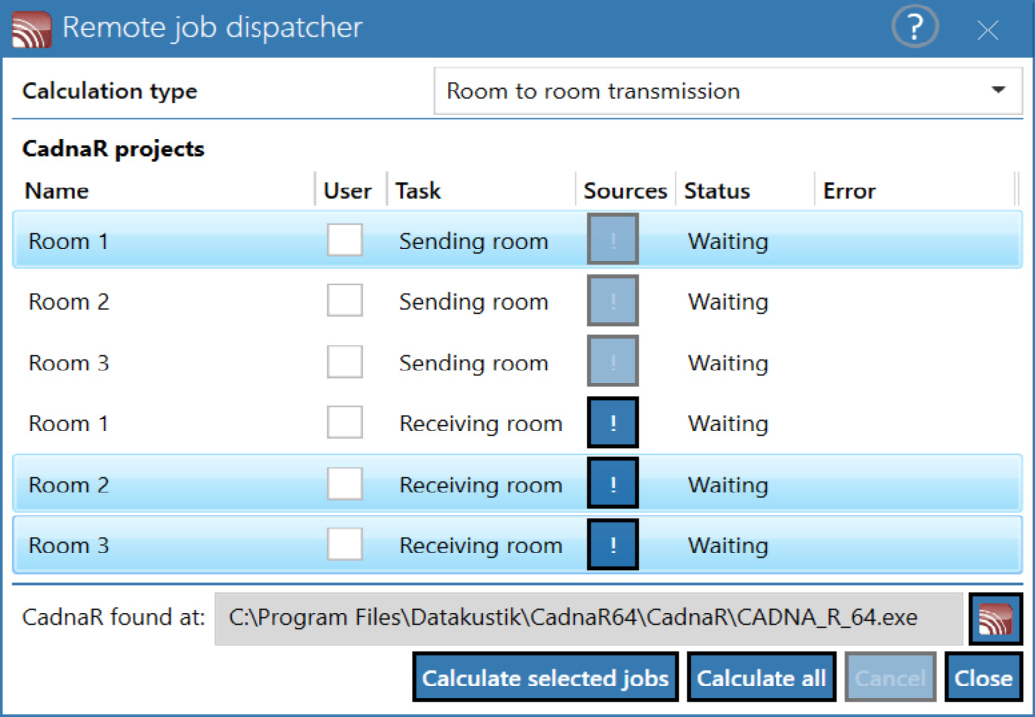
- Select these rooms accordingly.
- Click on the "Calculate selected tasks" button.
This starts the calculation in CadnaB, but is carried out in three subprojects by CadnaR and the results are written back to CadnaB. After the calculation has been completed, the dialog in the "Status" column shows that all jobs have been completed or, if applicable, canceled with an error message.
- Close the Remote job dispatcher dialog with the "Close" button.
Since CadnaB does not know the objects "receiver" or "calculation area", the resulting levels can only be seen from the visual representation in CadnaR (in the form of a background bitmaps underlaid in the 2D room view, provided the corresponding option is activated in the CadnaR project dialog, see CadnaR Project).