Wall tool

- Select the wall tool on the toolbar.
- Use the mouse to click on the first position of the new wall and - with the mouse button held down - drag the mouse to the desired end position of the wall.
- Release the mouse button.
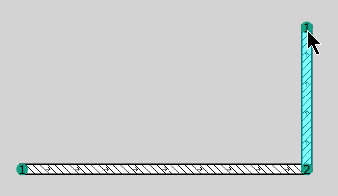
- In order to enter a wall perpendicular to the first one, click with the mouse - with the wall tool still selected - on an end point and drag the mouse to the new position.
- Release the mouse button again.
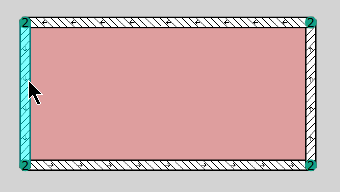
Entering walls (with the origin in the lower left corner)
The arrows in the element‘s cross-section indicate the orientation of the geometry, the numbers at the joints indicate the number of connected elements in the horizontal plane.
Perpendicular input
While keeping the SHIFT key pressed, the perpendicular input of walls (using the tools "Wall" and "Multi-Wall", see Multi-Wall tool) is forced.
Change wall position

- To change a wall position, choose the selection tool.
- Position the mouse pointer at an end of the wall or a junction.
- Hold down the mouse button and drag the mouse to the new position.
Walls can only be moved at their polygon points, but not as a whole.
- Enter two more walls in the same way.
As soon as the room polygon is closed, this is indicated by coloring the room floor area.