Create / assign CadnaR projects
Proceed as follows:
- In the CadnaR project manager dialog, click the button
 to insert a new "CadnaR Project" object.
 - Click on the new line “CadnaR Project” to assign one of the rooms from the “Rooms on Storey” list.
- Assign the desired room from the room list to each “CadnaR project” with a click of the mouse.
If there is only a single room on the storey, the selection occurs automatically, otherwise the desired room must be selected from the list by a mouse click, whereby rooms available in CadnaB can also remain without being assigned to a CadnaR project.
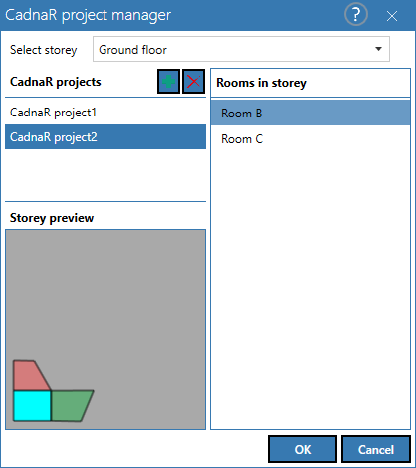
In the above example there are three rooms (with the renamed room names "Room1..3"), whereby the CadnaR project "Room1" was assigned the room "Room1" and the CadnaR project "Room2" was assigned the room "Room2". Room 3 modeled in CadnaB was not assigned to any CadnaR project.
- After the assignment, close the dialog with OK.
After closing, the object list in the "Project" mode (see „Project“ Mode) also contains as many new "CadnaR Project" objects as there are rooms assigned in the CadnaR project manager dialog.
In the example above with two assigned rooms, these are two objects "CadnaR Project" (symbolized by the CadnaR specific icon and its color)::
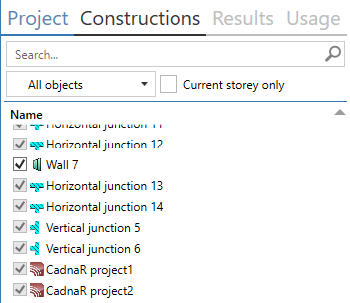
- In the “Project” mode, double-click on one of the “CadnaR Project” objects, here “Room1” or “Room2”, to edit the relevant surface properties of the room.
The CadnaR Project dialog is then opened (see CadnaR Project).