Editing Wall Geometry
The room and element geometry defined via the project settings can be edited. Consider that the element‘s height is a room property (see Storey). The following options are available:
Editing walls
- The corners of the room (junctions points) can be moved using the mouse. To this end, click on a junction holding down the mouse button and drag the mouse to the desired position. This feature is particularly applicable when entering walls onto a bitmap with non-rectangular floor plans.
When moving around, the current setting for the coordinate snap on grid points is valid (default 0 m).

If - for example - a snapping of 1 m is selected, changes to the geometry occur in steps of 1 m in x and y directions.
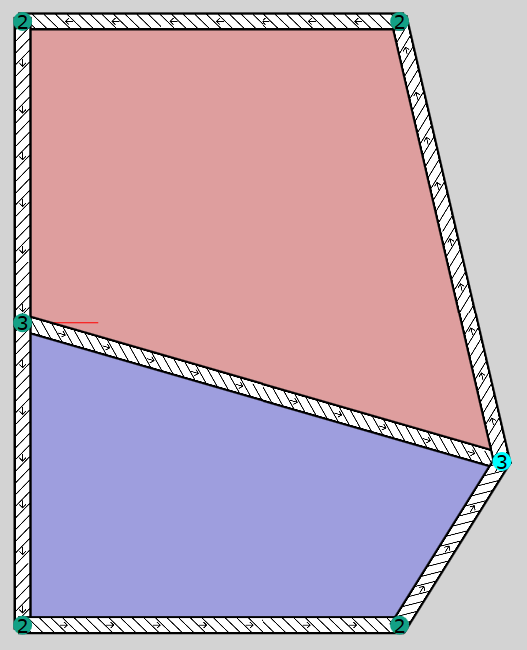
Rechte Stoßstelle des Trennbauteils verzogen
- Alternatively, after double-clicking on a element, the corner coordinates (in the xy plane) can be edited. Clicking OK automatically adjusts the geometries of the neighboring element(s) resulting in a closed volume.
Note
The element height cannot be edited in the Wall dialog since it a room property (see Storey).
Avoiding overlaps
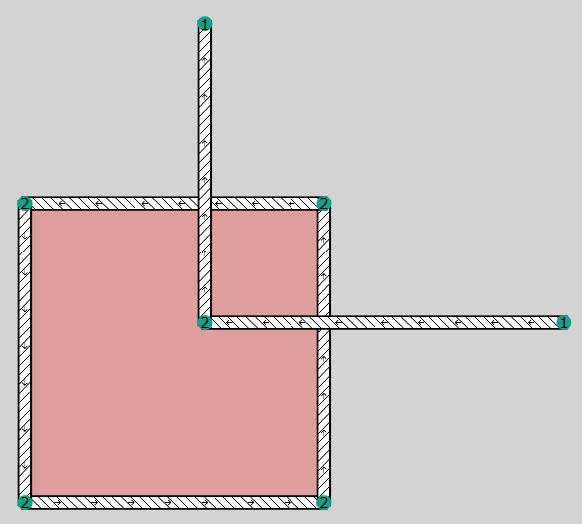
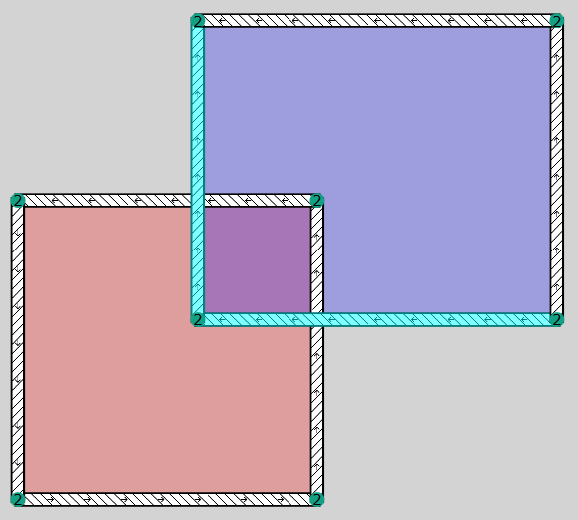
When entering walls, please note that walls must not overlap. In this case, rooms may get generated, but no valid junctions are identified, for example:
 |
 |
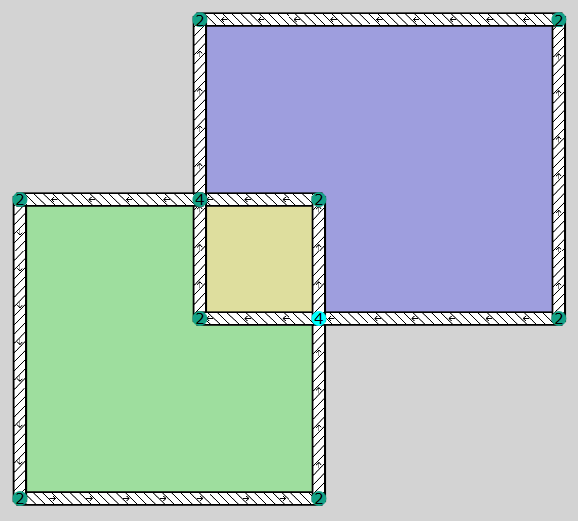
Select the junction tool  on the toolbar (see Symbol Bar) and click onto the crossing of elements to generate a valid junction (see Entering & Editing Junctions). In the example above:
Moving walls
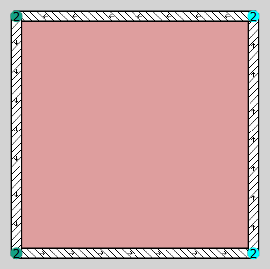
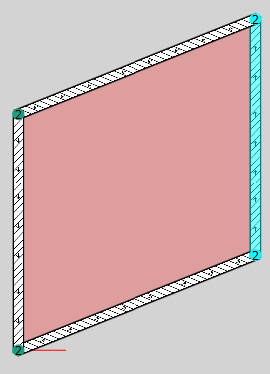
In order to move a wall as a whole - and not just a junction - proceed as follows:
- Use the mouse to activate one of the two adjacent vertical junctions limiting the element to be moved.
- Press the CTRL key and hold it down.
- Activate the other adjacent vertical junction and - while still holding down the CTRL key - drag the wall as a whole to the new position.
 |
 |
 |