ObjectTree
Definition
ObjectTree (menu Tables|ObjectTree) allows to arrange the objects of a project in a hierarchical tree structure by using groups.
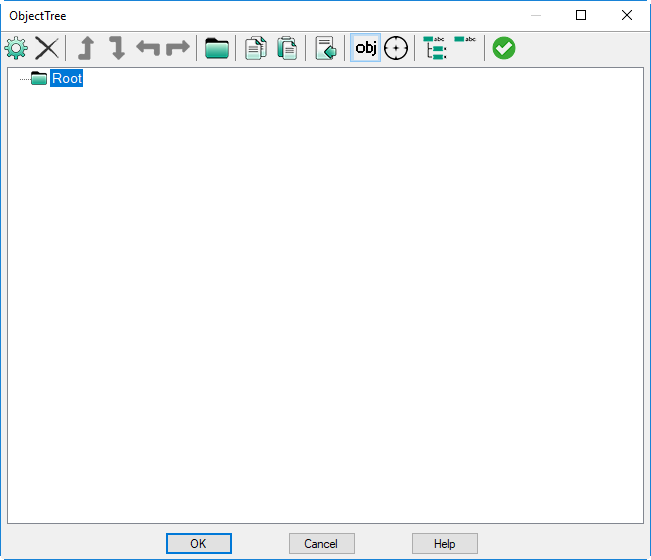
Dialog ObjectTree|Definition
The ObjectTree-symbol bar contains the following symbols:
 |
 |
    |
 |
| edit object-properties |
delete object | move buttons | insert object group |
 |
 |
 |
 |
| copy cell | paste cell | import objects | display objectsOn/Off |
 |
 |
 |
 |
| synchronize graphics | open structure of ObjectTree | close structure of ObjectTree | close dialog |
Add objects to the ObjectTree, Grouping objects
After ObjectTree groups have been added by clicking the corresponding icon in the toolbar, they can be filled with objects:
- using the ObjectTree-Symbol of any individual object in its object-dialog.
- using the function „Change ObejctTree assignment“ of the context menu of a multiselection (see Selecting Objects, see Change ObejctTree assignment)
- using „Change ObejctTree assignment“ in „Modify objects“ (see Change ObejctTree assignment)
Arranging Object Order
There are two ways to arrange for the order of individual objects or object groups within the ObjectTree‘s hierarchy:
- by clicking the move buttons or
- by Drag & Drop using the mouse.
Move Buttons
By the move buttons on the symbol bar the active object can be moved to a different level in the ObjectTree‘s hierarchy.
- move cell upwards in the hierarchy
- move cell downwards in the hierarchy
- move cell one level up in the hierarchy
- move cell one level down in the hierarchy
Drag & Drop
Alternatively, individual objects or a group can be moved or copied within the ObjectTree using the mouse.
- moving an object or group: Click with the left mouse button on the object or the group and hold down the button. Drag the object or group to the new location in the ObjectTree and release the left mouse button. Subsequently, the object or group is inserted at the new location.
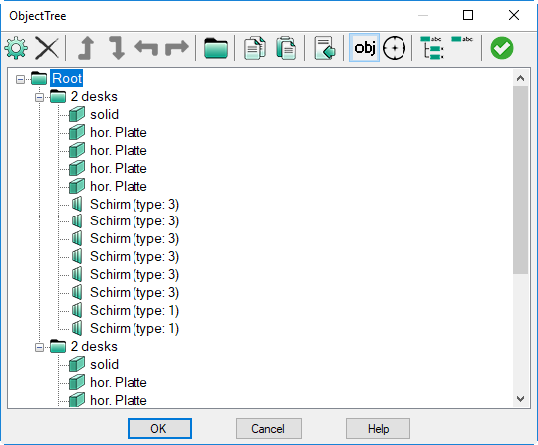
Moving an object by drag & drop in the ObjectTree
- copying/pasting an object or group: Click with the right mouse button on the object or group to be copied and hold down the button. Drag the object or group to the new position within the ObjectTree where the copy shall appear. After releasing the right mouse button, a dialog is displayed enabling to select „Cut from“ or „Copy from“. In addition, the origin and the target group is indicated. With the option „Copy from“ selected the copied objects can be transformed (see Transformation).
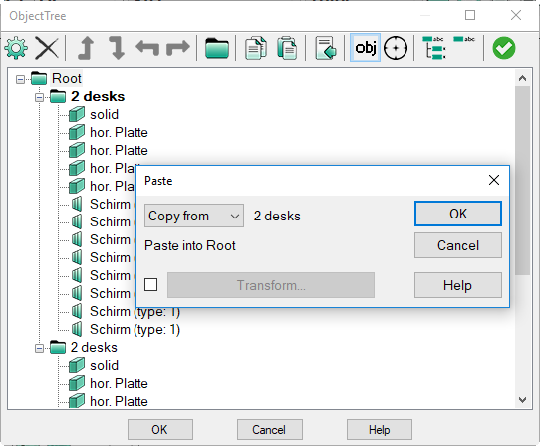
Copying an object by drag & drop in the ObjectTree
- displaying groups: When the View Groups command on the Options menu is selected all groups and subgroups defined on the ObjectTree dialog are displayed by a bounding box in the 2D view (for further features see Displaying & Modifying ObjectTree Groups below in this chapter)
ObjectTree’s Symbol Bar
Edit Object Properties
When clicking this symbol the edit dialog of the active object in the ObjectTree will be displayed. In case of group elements (folders) the respective group dialog is displayed. This feature is also accessible by double-clicking on the respective item in the ObjectTree or using the shortcut: SHIFT + Enter if a folder / an object is already selected.
Delete Object
By clicking this symbol the active object will be deleted from the ObjectTree, after confirming a prompt. Alternatively, the DEL key can be used to delete items.
Note
When a folder is deleted all folder items inside will be deleted as well from the ObjectTree.
Insert Object Group
When clicking this symbol a new folder will be inserted into the ObjectTree, on the hierarchy level of the active object.
Copy Cell
When clicking this symbol the active object is copied from the ObjectTree and later be pasted at a new location. When a folder is copied, the copy will contain all objects inside.
Paste Cell
When objects have been copied using the command Copy Cell, those objects can be inserted at any other location within the ObjectTree.
For example, in order to paste a copy of group A into the root, copy group A, activate the „Root“ by a mouse-click, and select the symbol „Paste Cell“. Subsequently, a dialog will be displayed offering to transform the copied objects to a new location (see Transformation).
Note
The transformation via the dialog ObjectTree|Paste is restricted - for the time being - to translations only.
Import Objects
Via this symbol the objects from CadnaR-files can be imported into the ObjectTree of the actual file. Besides the CadnaR-specific file format (file extension *.cni) all other import formats are available (see CadnaR (*.cni)). A new folder will be generated below the presently active hierarchy level. The folder receives the name of the imported file containing all imported objects.
Import of Object Groups from SketchUp
With groups of objects defined in Sketchup, they can be imported to CadnaR using this import function, including the objects. Also, nested groups are converted to a corresponding group structure in CadnaR.
Display Objects On/Off
This toggle enables to suppress the display of all objects inside the defined groups. This holds also for displaying objects on table Sound Power and Partial Level. So, just the sound power or pressure levels of groups and of the entire arrangement of sources is displayed.
Synchronize Graphics
centers the 2D graphics on the selected object
Expand Structure of ObjectTree
By clicking this symbol the structure of the ObjectTree with all sub-directories will be opened. So, with this setting, all objects in all groups are visible.
Note
The recent status of the structure of the ObjectTree is saved to the CadnaR file and will be re-displayed when reopening the file.
Collapse Structure of ObjectTree
By clicking this symbol the structure of the ObjectTree with all sub-directories will be closed. Just the „Root“ directory will remain. By clicking the „Root“ symbol the first hierarchy level will be re-displayed.
Displaying & Modifying ObjectTree Groups
The groups and subgroups defined on the ObjectTree dialog can be displayed in the 2D and the 3D view. This option enables to move, copy, duplicate, or delete object groups as a whole, including all the objects within the group.
By this feature, complex scenarios can be created and edited quickly requiring comparatively little effort. Thus, for example, an arrangement of office desks or other furniture which are arranged multiple times in an open-plan office can be created by duplicating a group in the graphics and by moving them to the new location without re-entering and or editing these objects manually. Apart from the geometry, the duplicates have the same properties as the originals.
Note
Groups created manually via the Group table (see Group Definition) cannot be displayed in 2D or 3D view and also cannot be modified as a group.
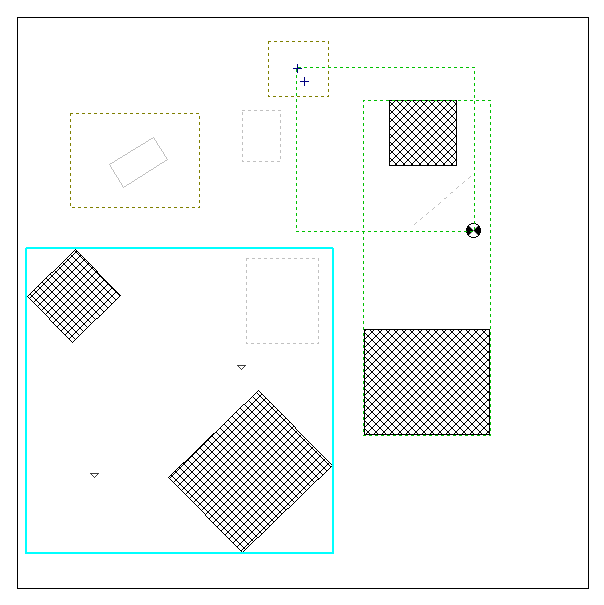 |
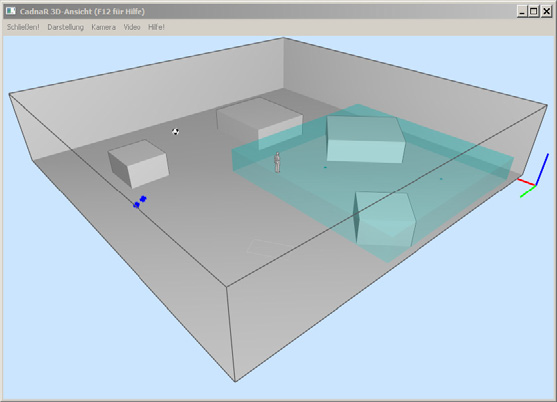 |
| The group consisting of two box-type obstacles has been selected in the 2D view. | With the 3D view being opened in parallel, the group marked in 2D also gets highlighted in the 3D view. |
Show Groups in 2D
By default, groups are not displayed in 2D view. In order to display them, select the Show Groups command on the Options menu.
All the groups and subgroups created on the dialog ObjectTree are displayed with a frame corresponding to the selected display type for the object type „Groups“ (by default as a dotted green polygon, see Edit appearance of Groups, below).
A double click on the group frame in 2D opens the dialog ObjectTree| Definition showing the respective tree.
Show Groups in 3D
A group selected in the ObjectTree dialog is displayed by default in the 3D view by a semi-transparent „bounding box“. To use this feature, open the ObjectTree dialog and the 3D-View dialog at the same time.
On the 3D-View dialog, menu Representation|Show ObjectTree Groups the following display options are available (see 3D-View):
- off: no display of ObjectTree Groups
- selected: just the selected ObjectTree Group is displayed
- all: all defined ObjectTree Groups are displayed
Note
Provided the Show Groups command (Options menu) is activated, groups can be selected not only in the ObjectTree dialog, but also in the 2D view (see above).
Modifying ObjectTree Groups
In the following, a distinction is made for features and procedures either available in the 2D or in the 3D view.
Note
The features explained below comply with those for distinct objects (see Inserting Objects), though they are described here.
Example
Path: Files\Manual\Chap 8_1\2 desks.cni
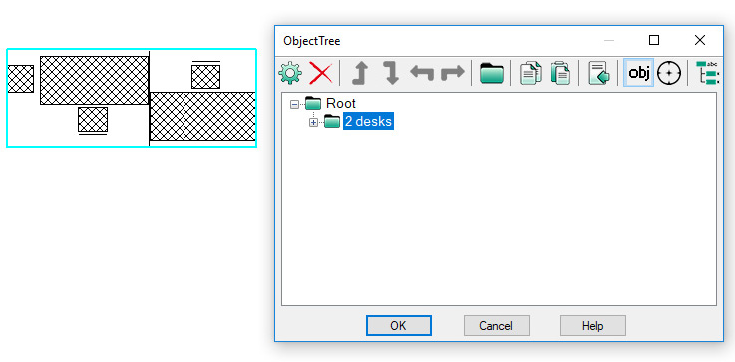
- Selecting ObjectTree Groups: If the Show Groups command is selected (Options menu), a group selected in the ObjectTree|Definition dialog is displayed as being selected in 2D and 3D views.
Example
Path: Files\Manual\Chap 8_1\2 desks - rotated.cni
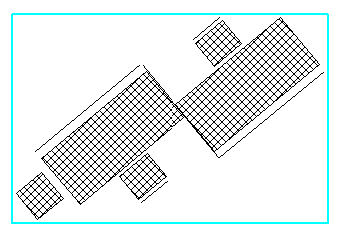
- Relocating/rotating of ObjectTree Groups: relocating by using the mouse or the keyboard with CRTL key pressed in 2D & 3D (arrow keys & Page Up/Down), rotating in 2D using the mouse with ALT key pressed:
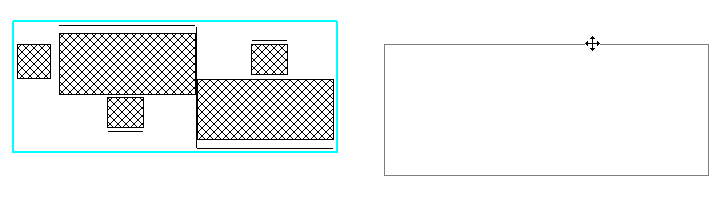 |
Relocating a group (either by using the mouse or the keyboard) |
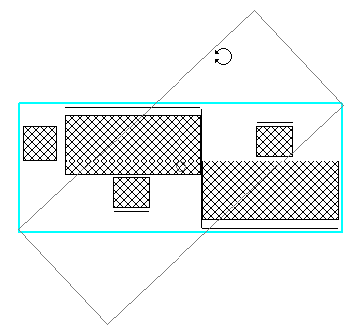  |
Rotating a group using the mouse, holding the ALT key pressed |
Example
Path: Files\Manual\Chap 8_1\2 desks - duplicated.cni
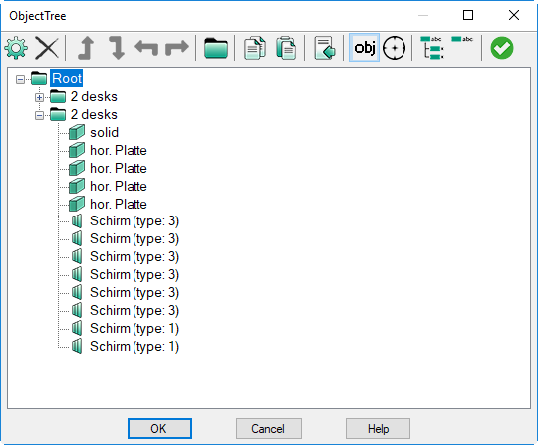
- Copying and duplicating ObjectTree Groups in 2D: copy/duplicate in 2D by using the mouse holding the CTRL key pressedAfter duplication of the group a second group is displayed in the ObjectTree|Definition dialog containing the duplicates:
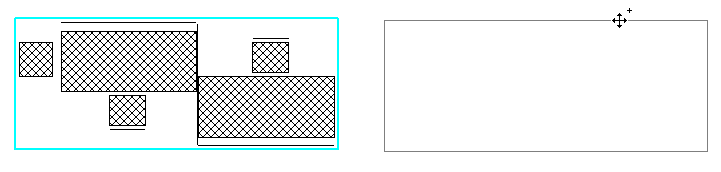 |
select group using the mouse, keep CTRL key pressed, move group to new location, release right mouse button |
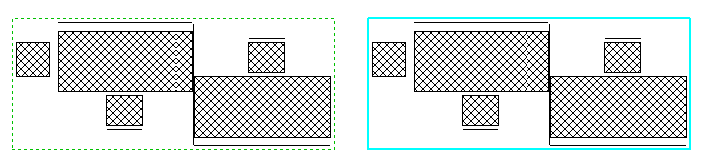 |
initial group + duplicate of the group |
- Deleting ObjectTree Groups in 2D/3D: By deleting a selected group the entire selected subtree of the ObjectTree will be deleted (after safety prompt). This feature corresponds to deletion of a subgroup in the ObjectTree dialog.
Edit appearance of Groups
The graphical appearance of the ObjectTree groups can be edited via the Options|Appearance menu, for object type „Group“ (see Appearance).
Deactivated ObjectTree groups consider the settings for the object type „(deactivated)“. ObjectTree groups not displayed can no longer be selected using the mouse.
Context menu command „Modify Objects“
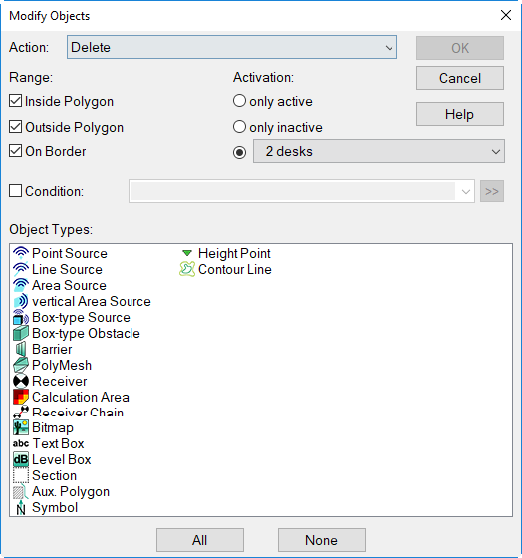
When selecting the context menu command Modify Objects for an ObjectTree group in the 2D-view, this ObjectTree group is selected for „Activation“ and with all ranges (that is „inside“, „outside“ and “on „border“).
Purge ObjectTree
Selecting the Purge command on the Tables|ObjectTree menu will delete, after a safety prompt, empty groups from the ObjectTree.